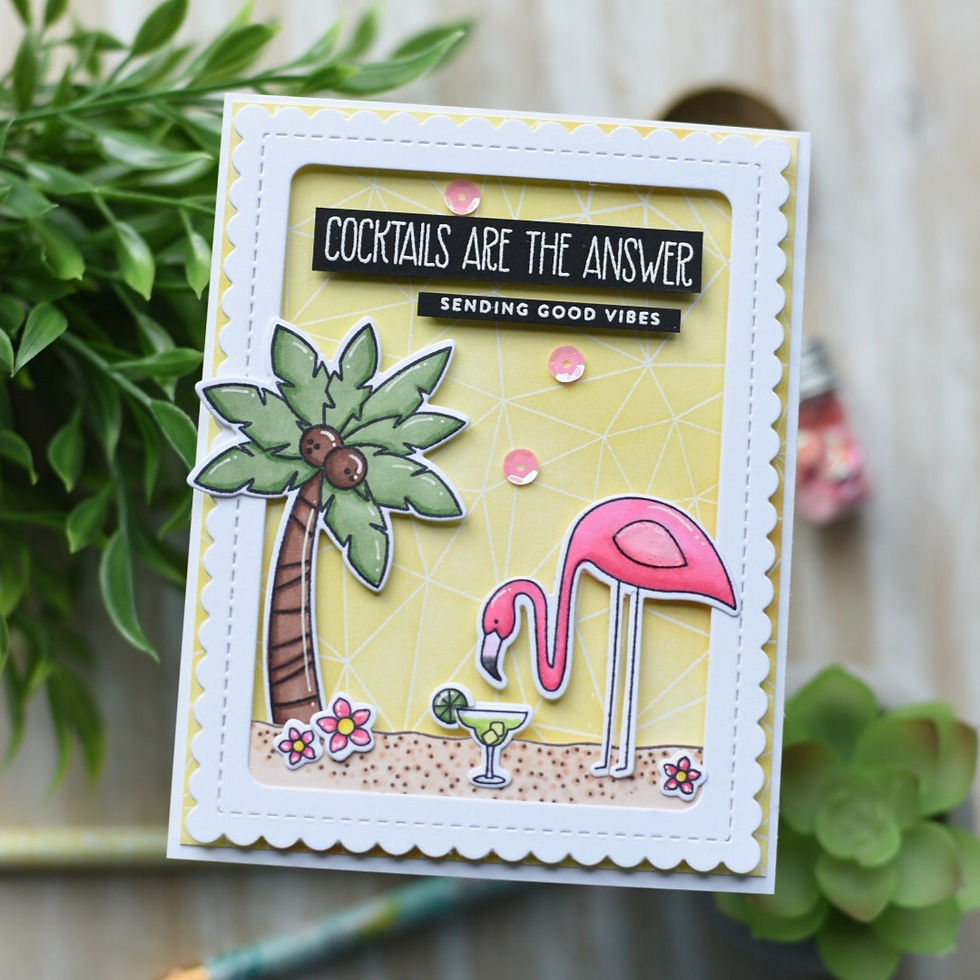
Cocktails ARE the Answer :)
- Amanda Fitterer

- May 22, 2019
- 2 min read

This card has a mix of quite a few products!
The palm tree is from Mama Elephant's "Summer Days" stamp set.
The flamingo, flowers, sentiment and cocktail are from My Favorite Things' "Let's Flamingle" stamp set.
The background is from My Favorite Things.
The smaller sentiment is from Simon Says Stamps' "Tiny Words" stamp set.
See below for the step-by-step process!
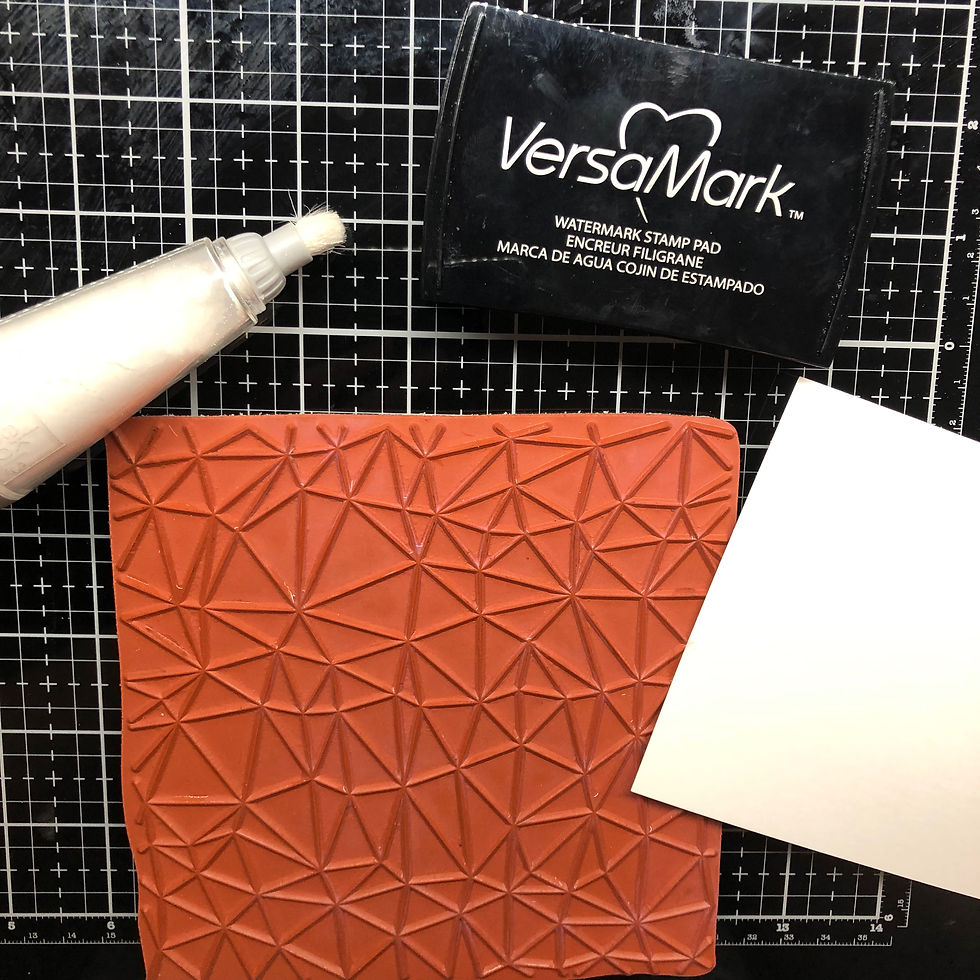
Using my anti-static powder, my Versamark watermark stamp pad and my background stamp, I stamped the image on a piece of cardstock.


I used white Wow! embossing powder on the stamped image and then heat embossed it with my heat gun.

I cut off about 1/4" of the length and width of the card stock.

I used Squeezed Lemonade and Scattered Straw distress inks to make a blended background.

I used a paper towel to wipe off the ink that was on top of the embossed parts.

Here's the finished background.

I used a couple of dies to create a scalloped edge stitched border that I will put on top of my yellow background cardstock.

I stamped my flamingo and my palm tree with Memento Black ink and then colored them in with my Copic markers.

I used clear Nuvo drops on just the wing of the flamingo to create some dimension.

I used a pin to pull the drops where I wanted them.

Once I set my flamingo and palm tree on the background, I realized I needed some more "props", so I stamped a couple flowers and a cocktail.


For my sand, I used the Get Grounded stamp set from Ink Blot Shop. I used Rich Cocoa from Memento.

I colored the sand in with my Copic markers.

I fussy cut the sand out with scissors.

I also fussy cut the space between the flamingo's legs because it was driving me crazy! :)

Then I started adhering all the pieces to the yellow background. I used 3d foam and also flat double sided tape. I used glue on the smaller pieces.


I used the same process for both of my sentiments. I used the Versamark watermark stamp pad, my anti-static powder and white Wow! embossing powder. I heat embossed with my heat gun.


I adhered them with 3d foam strips.


I used these sequins and glued them down with Gina K connect glue.

Here's a few more photos of the finished card!


Comments